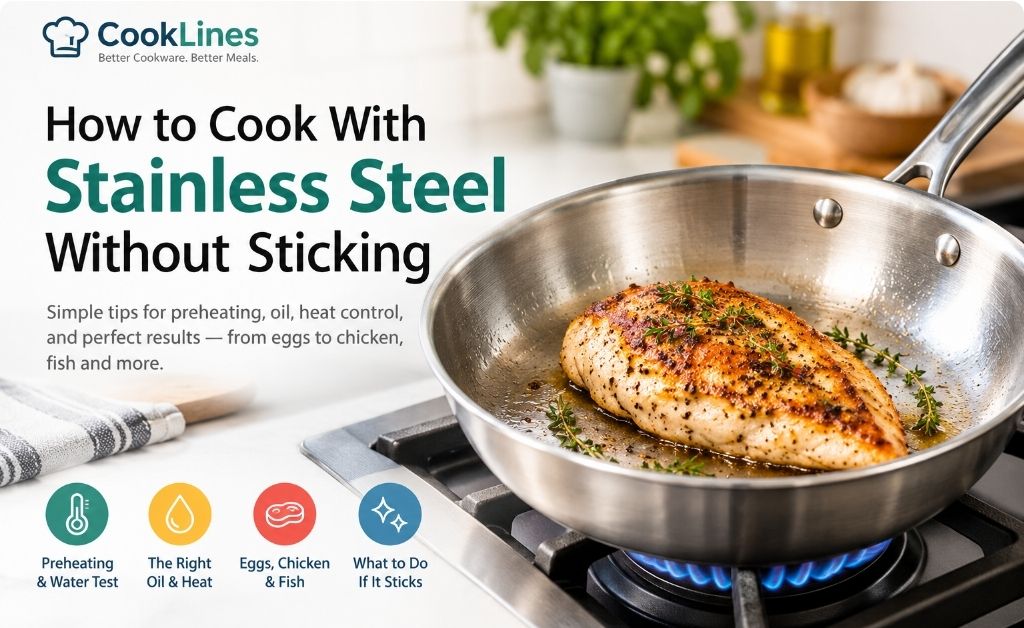
How to Cook With Stainless Steel Without Sticking
Stainless steel pans can cook beautifully, but many home cooks struggle with one problem: food sticking to the pan.
The good news is that stainless steel does not need a permanent nonstick coating to work well. In most cases, sticking comes from a combination of incorrect pan temperature, insufficient oil, wet or very cold food, or trying to move the food too soon.
There is also a common misconception that stainless steel pans need to be seasoned like cast iron or carbon steel. They don’t. All-Clad says seasoning is not required for its stainless steel cookware, and Made In recommends focusing instead on preheating and cooking technique.
This guide explains how to use a stainless steel pan so food releases more easily, what mistakes cause sticking, and what to do when something does stick.
Quick Answer: How Do You Keep Food From Sticking to Stainless Steel?
The basic method is simple:
- Start with a clean, dry stainless steel pan.
- Preheat the empty pan over low to medium or medium heat.
- Test the temperature with a few drops of water.
- Once the water forms beads that move across the surface, add cooking oil.
- Let the oil heat briefly.
- Add dry food to the pan.
- Don’t immediately move or flip the food.
- Reduce the heat if the food is browning too quickly.
- Let the food develop a crust before trying to turn it.
All-Clad and Made In both, recommend preheating the pan and using the water-drop test before adding oil and food.
The exact heat level will vary depending on your stove, pan thickness, and the food you’re cooking, so treat these steps as a starting point rather than a fixed temperature formula.
Do You Need to Season a Stainless Steel Pan?
No. Stainless steel cookware does not require seasoning in the same way as cast iron or carbon steel.
Seasoning cast iron or carbon steel creates a baked-on layer of polymerized oil that becomes part of the cooking surface. Stainless steel works differently.
You normally add cooking oil immediately before cooking, rather than trying to maintain a permanent layer of oil on the pan.
Made In specifically does not recommend seasoning stainless steel cookware because normal washing with soap removes the oil anyway. The company argues that proper preheating and cooking technique are more important for reducing sticking.
Some cooks still choose to lightly season stainless steel because they like the way it feels during cooking. That’s a personal technique, but it shouldn’t be confused with a requirement for using stainless steel cookware.
Stainless Steel vs. Cast Iron Seasoning
The difference is worth remembering:
| Cookware | Permanent seasoning required? | Main sticking-control method |
| Stainless steel | No | Preheating + oil + heat control |
| Cast iron | Usually yes. | Seasoning + proper heat + oil |
| Carbon steel | Usually yes. | Seasoning + proper heat + oil |
| Traditional nonstick | No | Coated cooking surface |
So if your stainless steel pan is sticking, don’t assume the pan needs seasoning first. Start by checking your cooking technique.
Step 1: Start With a Clean, Dry Pan
Before cooking, make sure the cooking surface is clean and completely dry.
Food residue from a previous meal can create uneven contact between the new food and the pan. Water left on the surface can also interfere with the heating process.
Wash the pan normally and dry it before placing it on the burner.
You don’t need to coat the pan with oil before heating it.
Step 2: Preheat the Stainless Steel Pan
This is probably the most important step.
Place the empty pan over low to medium or medium heat and allow it to warm gradually.
All-Clad recommends preheating stainless steel cookware over low to moderate heat. Its care instructions say the pan is ready when water will “dance” on the surface.
Made In similarly recommends preheating the pan before adding oil and food.
Don’t automatically turn the burner to maximum heat. Stainless steel cookware can retain heat well, and excessive heat can make delicate foods burn before they have a chance to release naturally.
Step 3: Use the Water-Drop Test
You can use a few drops of water to check whether the pan is sufficiently heated.
Add a small amount of water to the dry pan.
If the water simply sits there and slowly evaporates, the pan needs more heat.
If the water immediately disappears with aggressive sizzling, the pan may be too hot.
When the water forms small beads that move or dance across the surface, the pan is generally ready for the next step. Made In and All-Clad both describe this type of water test in their stainless-steel cooking guidance.
Once you perform this test, let the water evaporate before adding oil.
Don’t Treat the Water Test as an Exact Temperature Gauge
The water-drop test is useful, but it isn’t a laboratory measurement.
The result can vary depending on the pan, burner, stove type, and amount of water used.
Use it as a practical cooking signal rather than assuming that every “dancing” water droplet represents one exact temperature.
Step 4: Add the Oil After Preheating
Once the pan is properly heated, add your cooking oil.
The oil should spread easily across the surface.
As the oil heats, it should become fluid and may begin to shimmer. If it starts smoking heavily, the pan is too hot for many cooking tasks.
All-Clad recommends adding enough oil to cover the cooking surface and waiting until the oil is hot before adding food.
You usually don’t need a large amount of oil. A thin, even layer is enough for many foods.
Delicate foods such as fish or eggs may benefit from slightly more fat.
Step 5: Dry Your Food Before It Goes Into the Pan
Moisture on the surface of food can create problems.
If you’re cooking chicken, steak, fish, or another protein, pat the exterior dry with paper towels before placing it in the pan.
All-Clad specifically recommends drying food before cooking, while Made In also recommends bringing ingredients closer to room temperature and drying them before cooking.
Drying the surface helps the food make better contact with the hot cooking surface and encourages browning.
Step 6: Don’t Add Very Cold Food When You Can Avoid It
Food straight from the refrigerator can dramatically reduce the temperature of the cooking surface.
For larger proteins, allowing the surface temperature of the food to come up somewhat before cooking can make the cooking process more predictable.
You don’t need to leave perishable food sitting out for an extended period. The goal is simply to avoid unnecessarily placing extremely cold food onto the pan when your recipe allows otherwise.
Made In recommends tempering ingredients before cooking because very cold food can reduce pan temperature and contribute to sticking.
For food-safety reasons, don’t leave meat, seafood, eggs, or other perishables at room temperature for unnecessarily long periods.
Step 7: Put the Food Down and Leave It Alone
This is where many beginners make a mistake.
You put a steak, chicken breast, or piece of fish into the pan—and it sticks.
The natural reaction is to immediately scrape underneath it.
That can make the problem worse.
When food first touches stainless steel, it may temporarily adhere to the surface. As browning develops, the food can release more easily.
All-Clad advises allowing the food to cook until it no longer sticks before turning it.
Instead of forcing the food loose, wait and test it gently with a thin spatula.
If it still feels firmly attached, give it more time.
Step 8: Control the Heat After Adding Food
A properly preheated pan doesn’t mean you should keep the burner at the same setting throughout the entire recipe.
Food cools the pan when it is added. Once the pan recovers its heat, continuing at maximum heat may cause excessive browning or burning.
For many stainless steel cooking tasks, medium or medium-low heat is enough after the initial preheat.
All-Clad recommends low to medium heat for frying, sautéing, braising, and simmering, reserving high heat primarily for boiling.
Learn to watch the food rather than relying only on the number printed on the stove dial.
Why Does Food Stick to Stainless Steel?
Food can stick for several different reasons.
The Pan Was Too Cold
If food goes into a cold or insufficiently heated pan, it can bond to the cooking surface before proper browning begins.
The Pan Was Too Hot
Extremely high heat can cause proteins or sugars to burn onto the surface.
A pan that is too hot can be just as problematic as one that is too cold.
There Wasn’t Enough Cooking Fat
Stainless steel isn’t naturally nonstick.
Oil or another cooking fat provides lubrication between the food and cooking surface.
You don’t need to flood the pan with oil, but you generally need enough to create a thin coating over the cooking area.
The Food Was Too Wet
Excess surface moisture can interfere with browning and temperature control.
Pat proteins dry before cooking.
You Tried to Flip Too Early
Food often becomes easier to release after it develops a browned surface.
Trying to force it loose before that happens can tear the food and leave more residue behind.
You Moved the Food Too Much
Constantly pushing, stirring, or flipping food prevents it from developing a stable browned surface.
For foods you’re trying to sear, give them time to cook undisturbed.
How to Cook Eggs in Stainless Steel Without Sticking
Eggs are one of the hardest foods for beginners because they are delicate and contain proteins that can adhere to stainless steel.
Start with a clean pan and moderate heat.
Preheat the pan, then add enough butter or oil to coat the cooking surface.
For fried eggs, crack the egg into the pan and avoid moving it immediately.
For scrambled eggs, use moderate heat and keep the eggs moving with a suitable spatula once they begin setting.
Eggs require more careful heat control than a steak. If the pan is extremely hot, they can stick or cook too aggressively.
If you’re learning stainless steel cooking for the first time, start with foods that are more forgiving before moving to delicate eggs.
How to Cook Chicken Without Sticking
Chicken is an excellent food for learning stainless steel technique.
Start by patting the chicken dry.
Preheat the pan, add oil, and place the chicken into the pan carefully.
Don’t immediately try to move it.
Allow the first side to brown.
As the surface develops a crust, the chicken should become easier to move. All-Clad’s care instructions specifically describe this release process when cooking with stainless steel.
If the chicken is browning too quickly, lower the heat instead of continuing to cook at maximum temperature.
How to Cook Fish Without Sticking
Fish requires more care because its flesh can break apart easily.
Dry the fish thoroughly before cooking.
For skin-on fish, make sure the skin lies flat against the cooking surface.
Use enough oil to coat the pan and allow the fish to cook without disturbing it.
Made In recommends letting skin-on fish cook until it releases naturally enough for a thin spatula to slide underneath.
Don’t repeatedly check the fish during the first part of cooking.
If you keep moving it, you increase the chance of tearing the skin.
What If Food Is Already Stuck?
Don’t immediately attack the pan with a sharp utensil.
First, give the food a little more time. It may release naturally as the surface browns.
If food has genuinely burned onto the pan, remove the food and allow the pan to cool somewhat.
Then add warm water and loosen the residue.
For tougher deposits, simmering water in the pan can help soften stuck-on food before cleaning. A wooden or silicone utensil can help loosen the residue without aggressively scraping the surface.
For everyday cleaning, use warm water, dish soap, and an appropriate non-abrasive sponge.
Is Brown Food Stuck to Stainless Steel Always a Problem?
No.
The brown residue left after searing meat or vegetables can actually be useful.
These browned bits, commonly called fond, contain concentrated flavor.
Instead of trying to scrub them away immediately, you can deglaze the pan with an appropriate liquid such as water, stock, or wine when your recipe calls for it.
The liquid loosens the browned residue and can become the foundation of a quick pan sauce.
All-Clad specifically recommends using browned food bits for sauce by deglazing with wine or stock.
So there is an important difference between useful browning and burnt food.
Common Stainless Steel Cooking Mistakes
Starting With a Cold Pan
This is one of the most common reasons for sticking.
Give the pan time to preheat before adding oil and food.
Using Maximum Heat for Everything
More heat doesn’t automatically mean better cooking.
Stainless steel can become very hot, and excessive heat can burn food and create difficult-to-clean residue.
Adding Oil Too Early
For this cooking method, heat the empty pan first, then add oil.
Using Wet Food
Pat meat and fish dry before cooking.
Flipping Too Soon
If food is still firmly attached, it may not be ready to turn.
Using Too Little Oil for Delicate Food
A steak and an egg don’t need exactly the same amount of fat.
Adjust the amount based on the food you’re cooking.
Assuming Stainless Steel Should Behave Like Nonstick
Stainless steel isn’t designed to make every food slide around immediately.
It rewards heat control and timing.
Once you understand that, the pan becomes much easier to use.
Do You Need a High-End Stainless Steel Pan?
Not necessarily.
Cooking technique matters greatly, but cookware construction can still affect the experience.
A well-made multi-layer stainless steel pan can distribute heat more evenly than a very thin pan, which can make temperature control easier.
However, buying an expensive pan won’t automatically eliminate sticking.
A premium pan can still stick if it is overheated, underheated, overloaded, or used with wet food.
If you’re considering upgrading your cookware, look at construction, thickness, cooking surface, handle design, weight, compatibility with your cooktop, and warranty—not just the brand name.
A Simple Stainless Steel Cooking Routine
If you want a routine that’s easy to remember, use this:
Clean pan → preheat → water test → add oil → heat oil → add dry food → leave it alone → adjust heat → flip when it releases.
After a few meals, this process becomes much more natural.
You won’t need to constantly think about every step.
Final Takeaway
You don’t need to season a stainless steel pan like cast iron to stop food from sticking.
The more useful skill is learning how your pan responds to heat.
Preheat it properly, use enough cooking fat, keep food reasonably dry, control the burner, and resist the urge to move food before it has developed a browned surface.
Once those habits become automatic, stainless steel becomes much easier to cook with—and the occasional browned residue becomes an opportunity for a flavorful pan sauce rather than a cooking disaster.
And if you’re choosing stainless steel because you want durable cookware without a traditional nonstick coating, learning this technique is one of the most useful skills you can develop.
Frequently Asked Questions
Do stainless steel pans need to be seasoned?
No. Stainless steel pans do not require seasoning like cast iron or carbon steel. Proper preheating, oil, heat control, and cooking technique are more important for reducing sticking.
Why does everything stick to my stainless steel pan?
The most common causes are an improperly heated pan, insufficient oil, wet or very cold food, excessive heat, or trying to move food before it has browned and released.
How do I know when a stainless steel pan is hot enough?
A common method is the water-drop test. When a few drops of water form beads that move across the surface, the pan is generally sufficiently preheated.
Should I put oil in a cold stainless steel pan?
For the preheat method described in this guide, heat the empty pan first, then add the oil and allow it to heat before adding food. All-Clad and Made In both recommend this approach.
Can I cook eggs in stainless steel without sticking?
Yes, but eggs require careful heat control and enough cooking fat. Use moderate heat, preheat the pan properly, add butter or oil, and avoid moving the eggs unnecessarily.
Why does chicken stick to my stainless steel pan?
Chicken can stick when the pan is not properly preheated, the chicken is wet, there isn’t enough cooking fat, or the chicken is moved before a browned surface develops.
Is the brown residue on stainless steel bad?
Not necessarily. Browned residue can be a flavorful fond that can be loosened through deglazing. However, heavily burned or blackened residue should be cleaned rather than used as a sauce base.
Can I use soap to clean a stainless steel pan?
Yes. Stainless steel cookware can normally be washed with dish soap and water. Unlike cast iron seasoning, stainless steel does not depend on maintaining a permanent oil coating.